Hi Friends!
Have you been participating in the 10 day Back to School Exclusive Hop? If you haven’t click {here} to check it out and find out about all 10 (that’s right TEN) prizes that are up for grabs!
Today I wanted to show you two projects that I finished this week. I’m very excited about both of them.
As you know, I’m going with a tropical theme for my first fourth grade classroom this year, so I’ve been busy creating new decor. My colors are bright blue and green with splashes of pink.
The first thing I decided to redo was my book checkout chart for my library. This is my check out chart last year when I had a bee theme.

It was… okay, but definitely doesn’t match my tropical theme. I write a number on each pocket (my kiddos always have a number) and they put the library card from any books they’re using for Daily 5 or whatever in their pocket, so I always know who has what books.
Okay, so here’s my brand-spanking new check out chart!
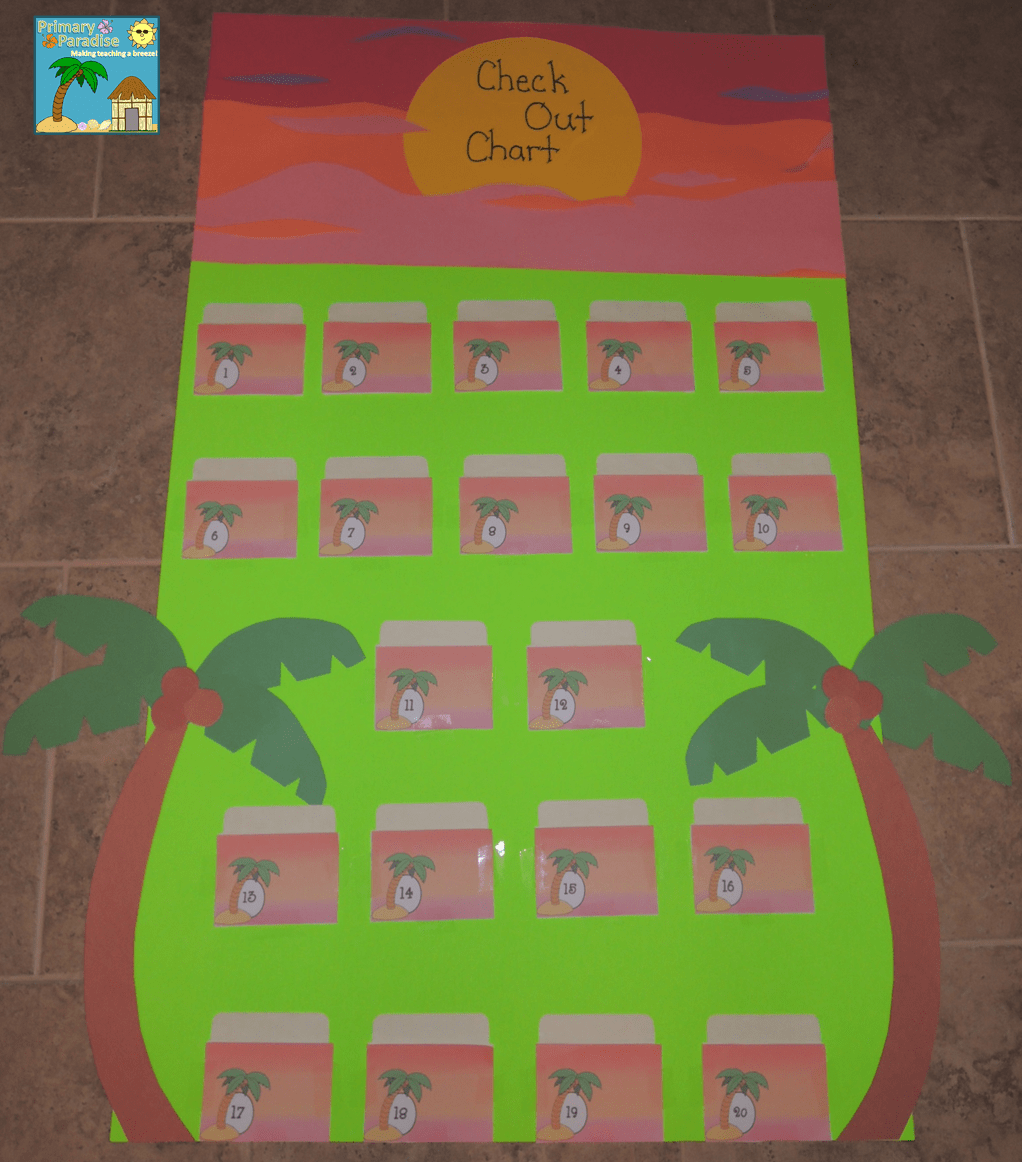
It’s a tropical sunset at the top (if you can’t tell). I <3 it! Which is a good thing since it took me, wait for it… THREE hours! Ha! I’m such a perfectionist. Now all I have to do is laminate it and cut slits in the library pockets. (FYI The green isn’t quite that neon… my camera’s flash has that affect).
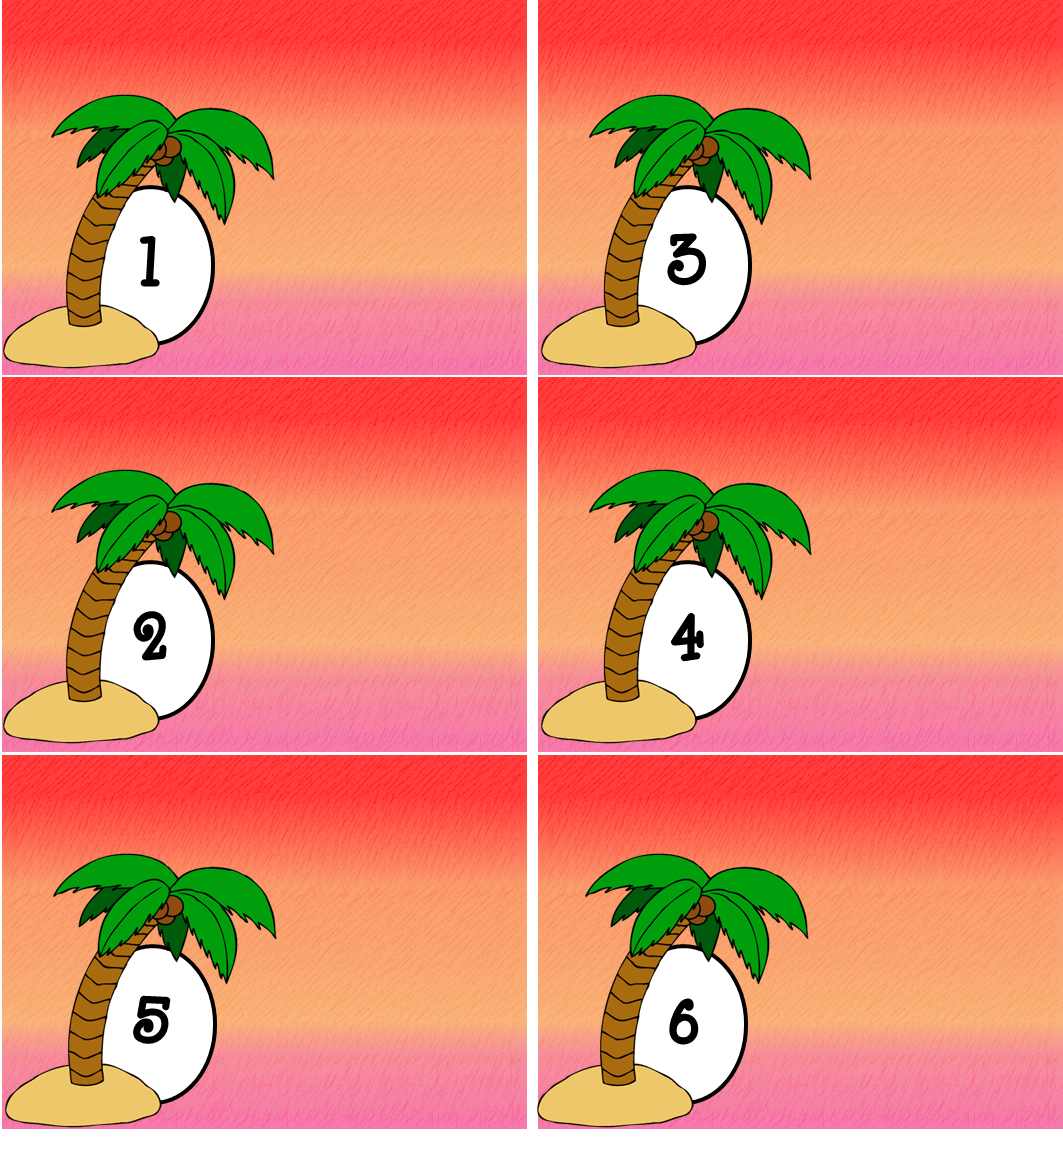
I covered my ugly manila library pockets with a pretty sunset paper. If you’d like it, you can click the picture below to download it for free! 🙂
Now onto my second project which is awesome, but slightly less original.
I’ve seen adorable READ signs all over Pinterest, so I decided to make my own. First, I took a trip to Michael’s to get my supplies.
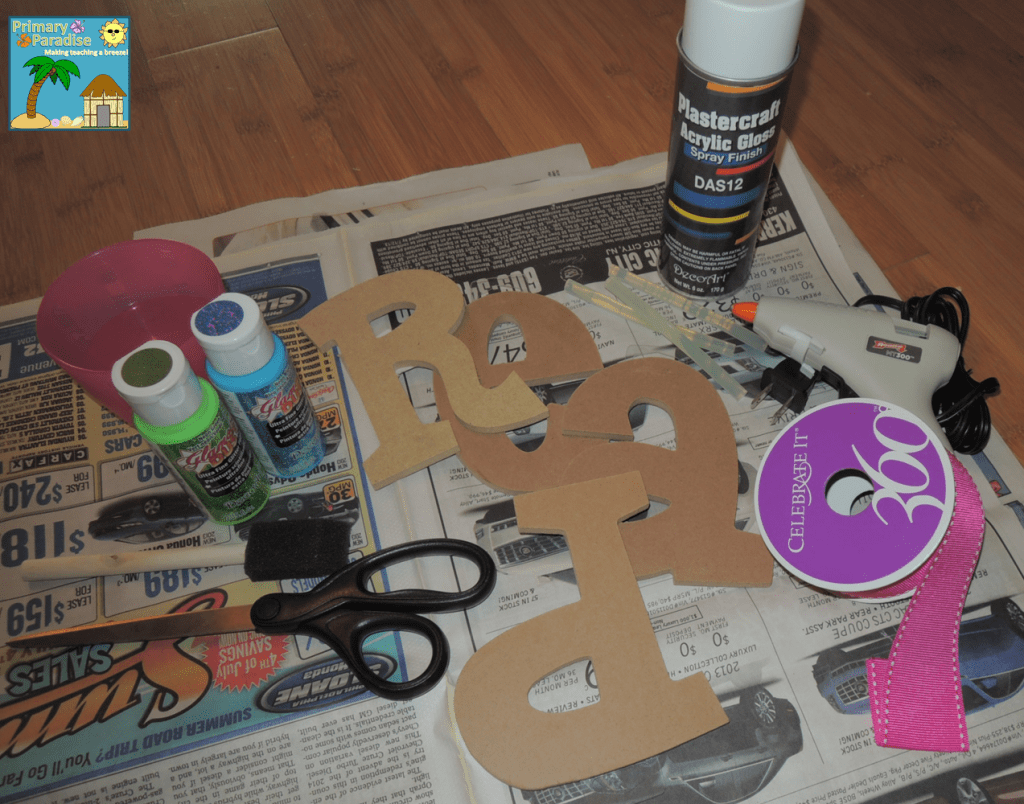
I bought:
Wooded Letters (49 cents each)
Pretty Pink Ribbon (2.99)
Two bottles of Glitter Paint (1.99 each)
1 Can of Spray Sealer (5.99)
I also needed:
Scissors
Hot Glue Gun
Paint Brush
Water (to rinse brushes)
Q-tips (not pictured, to paint the edges of the letters)
Now I was ready to start painting.
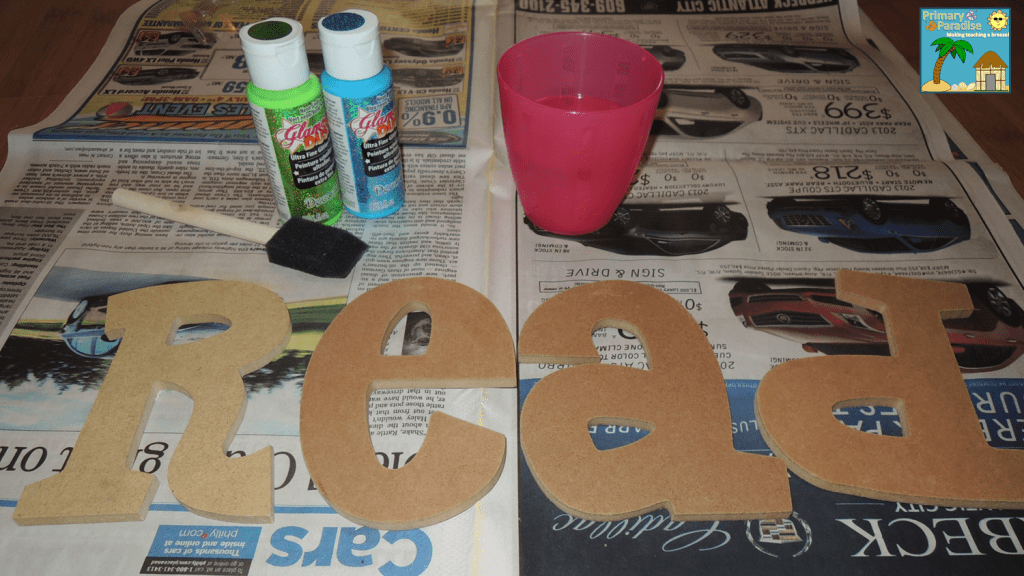
I was so excited to use my glitter paint. I just LOVE glitter!
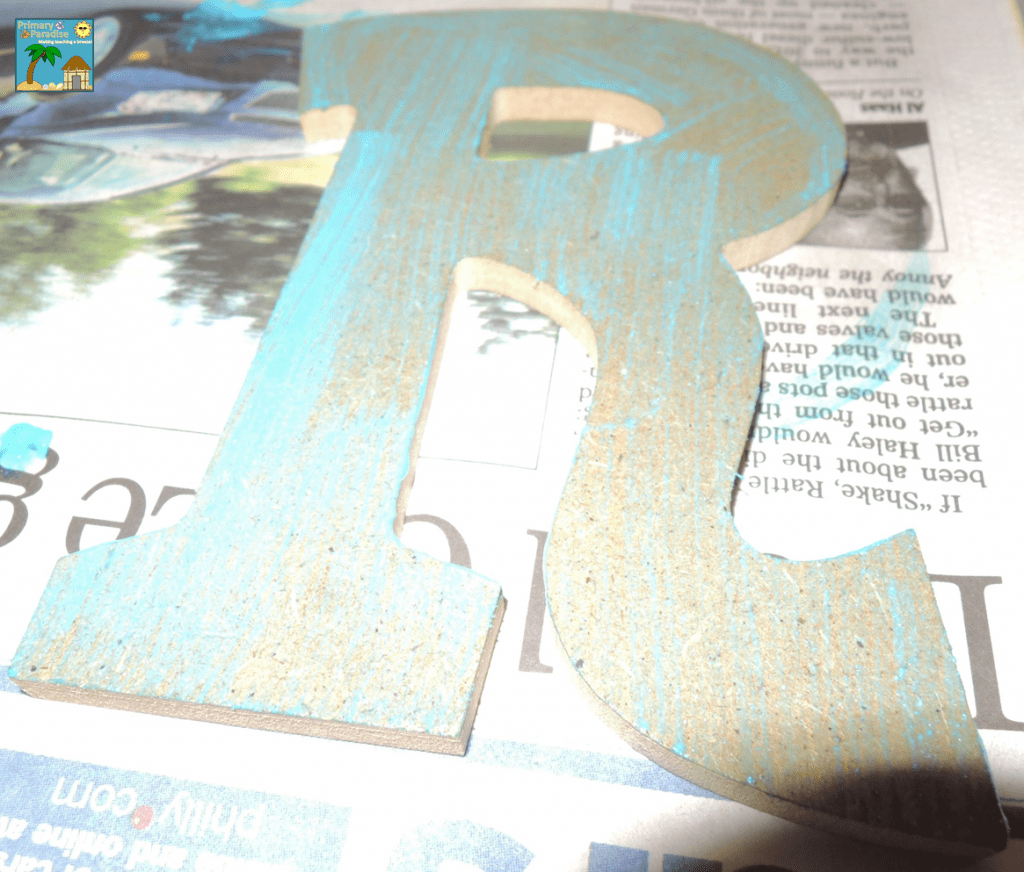
After one coat, I was not impressed… clearly this was going to be a multiple coat type of job.
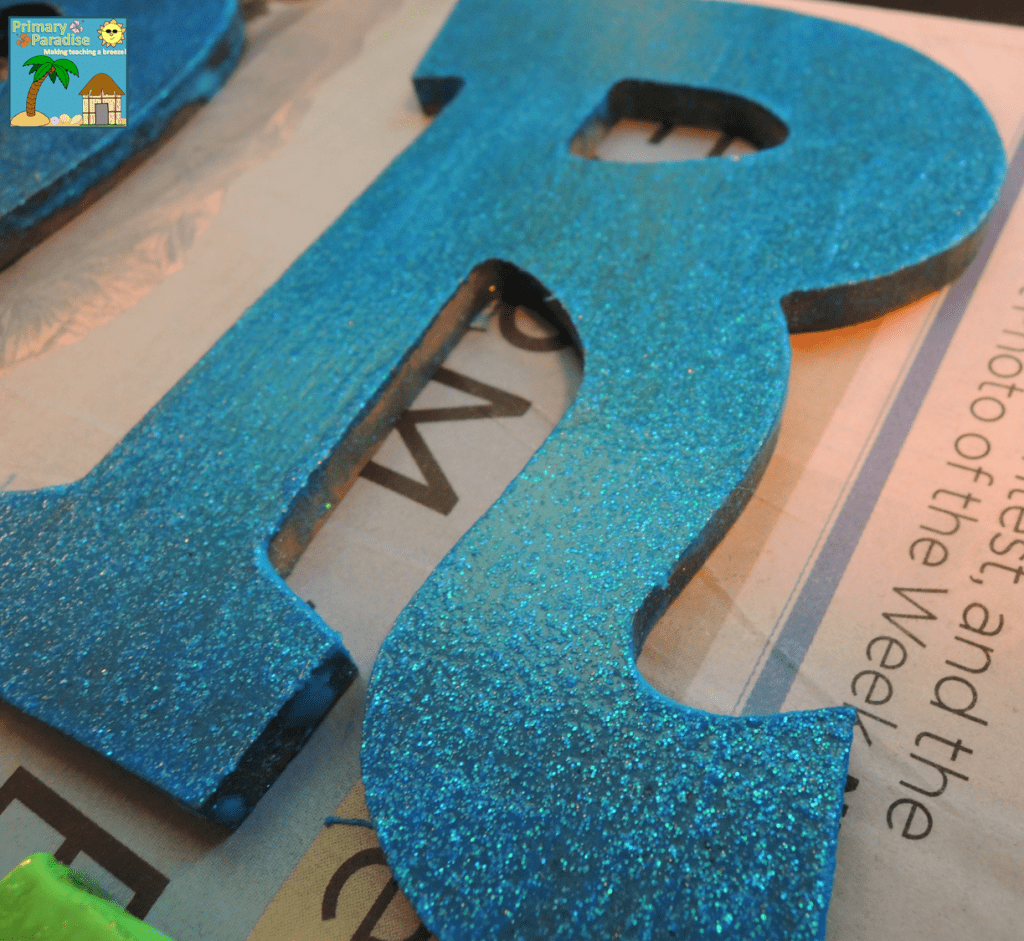
7 MORE coats later (that’s right, 8 total!), and I was finally happy! (Don’t you just love the glitter?!?)
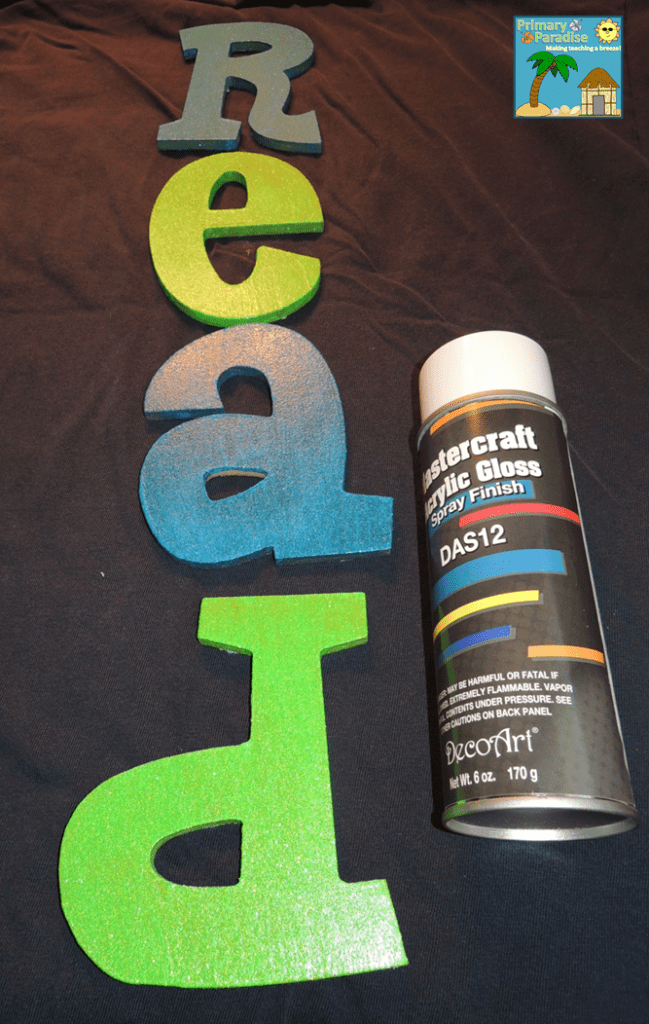
Next I sealed that paint in with my spray sealer. I did two good coats so little hands don’t pick off my paint.
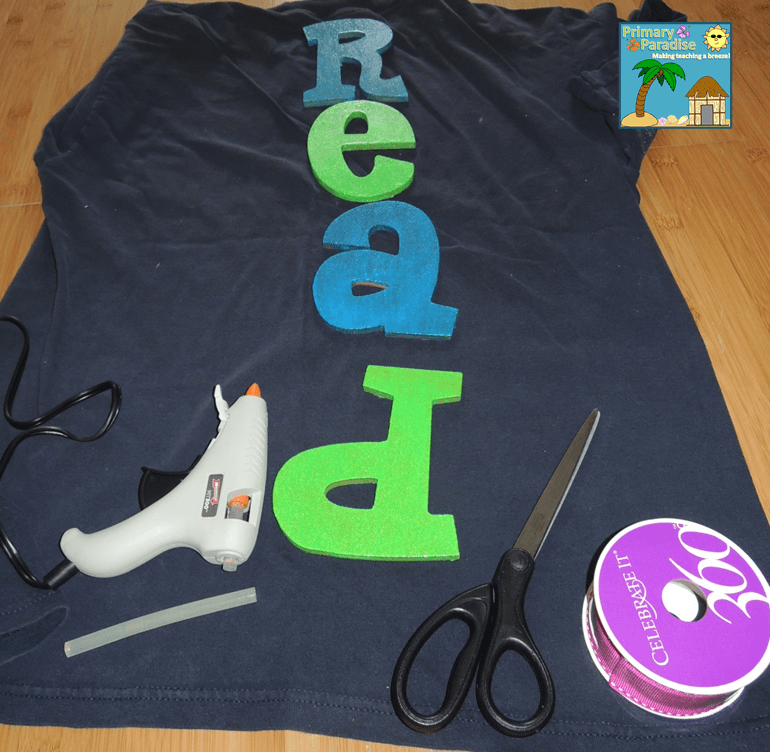
Now I was ready to create my sign.
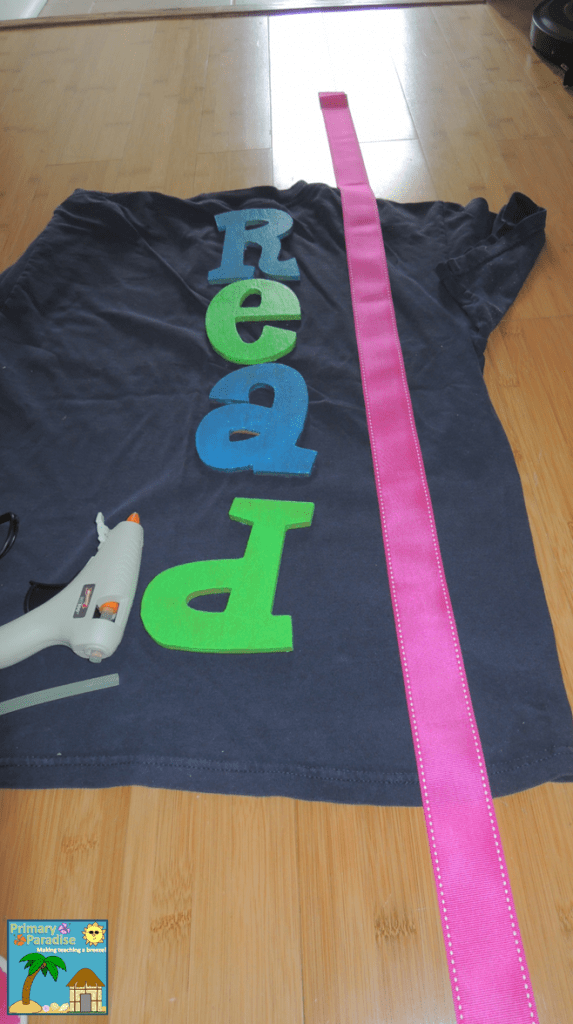
Next, I cut a looooong piece of ribbon, leaving plenty of extra at the top and bottom.
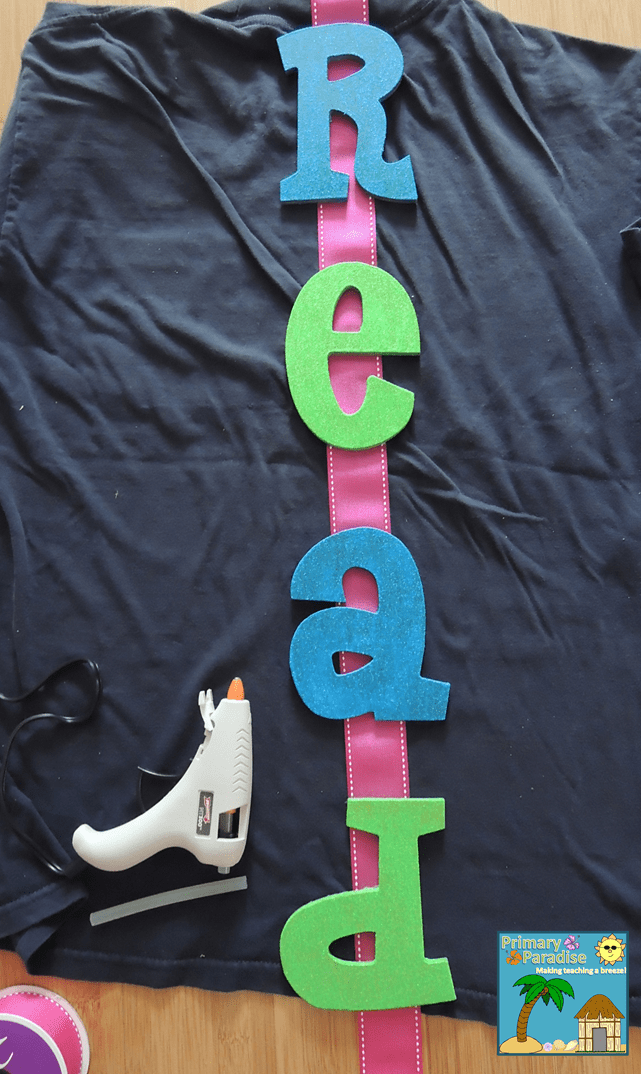
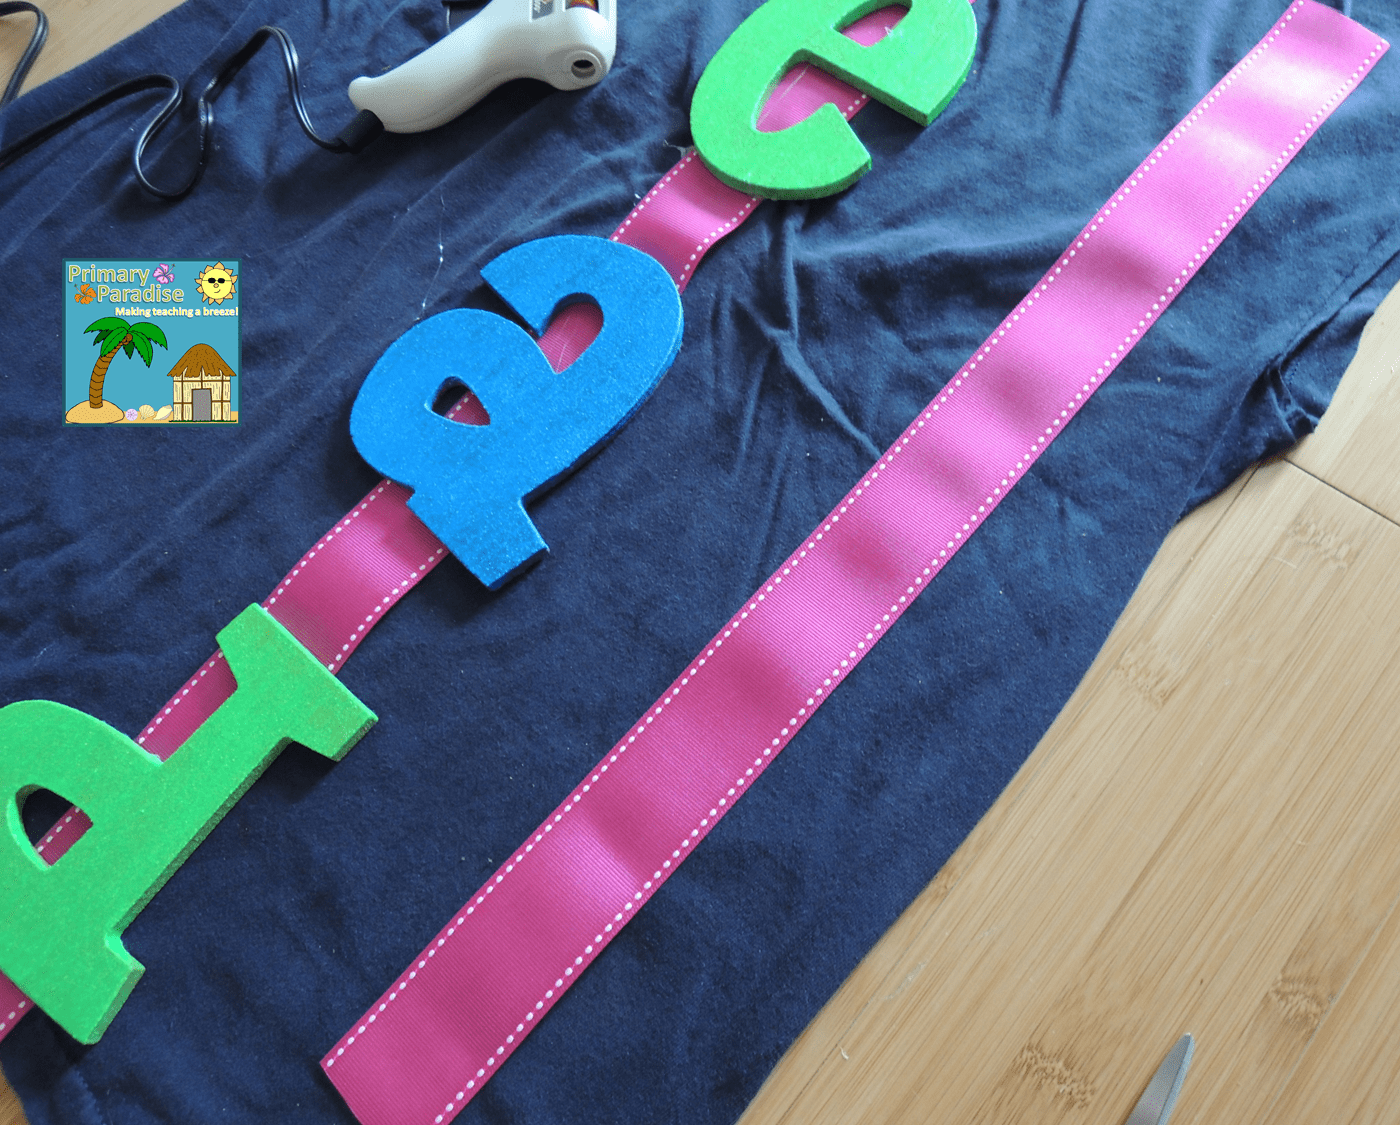
Then, I positioned the letters on my ribbon and hot glued them on. (I did it on an old t-shirt rather than newspaper so if it stuck, it’d be easy to get off.) You can’t tell from the picture, but there is a lot of extra ribbon on the top and bottom.
Next I cut another smaller piece of ribbon for a bow to go on top.
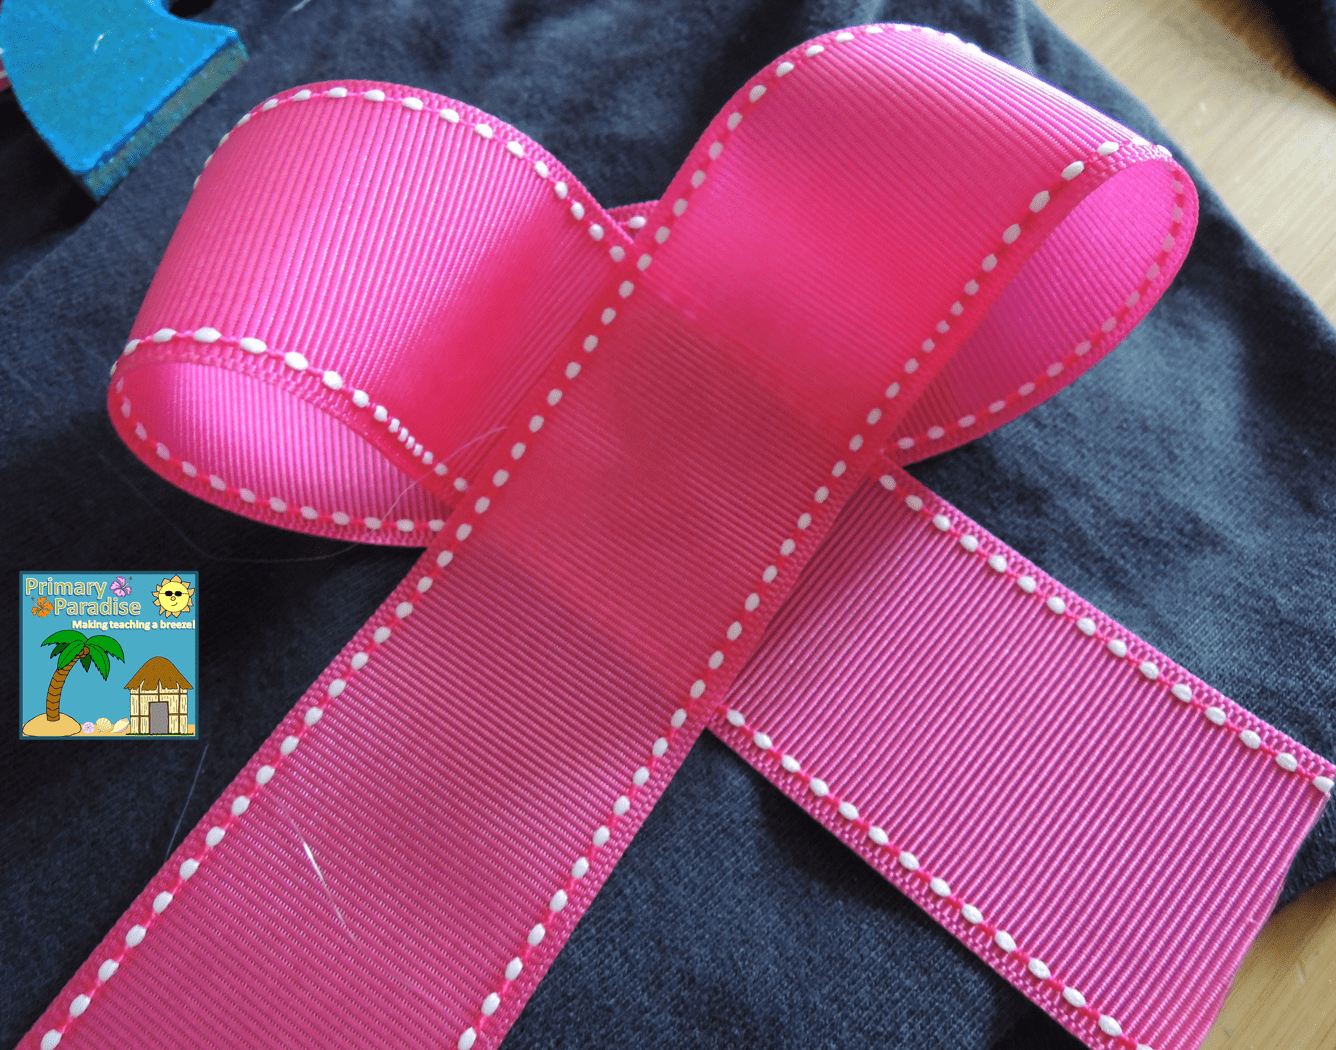
Then, I folded each side and hot glued it together. 🙂
I don’t know HOW I didn’t get a picture of it, but I also made a loop at the top of the READ sign with the extra ribbon so I can hang it. I then attached the bow underneath the loop.
I then cut off the extra ribbon at the bottom of the “d”.
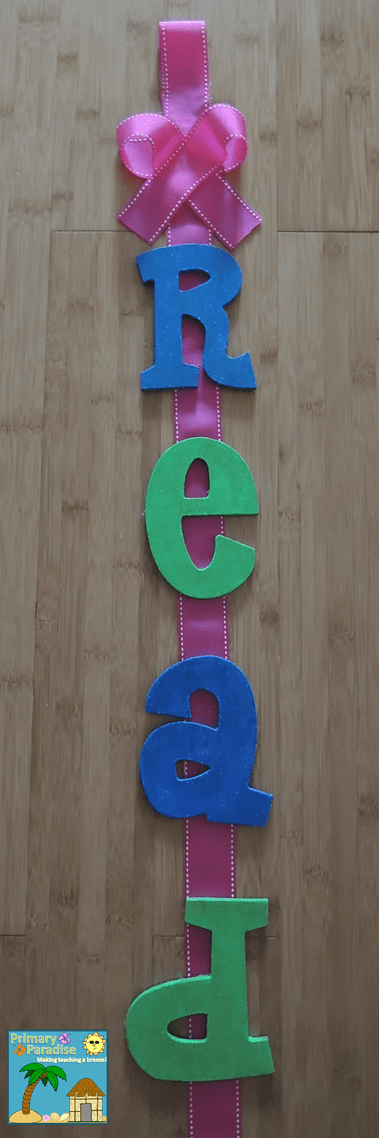
And then I had my finished READ sign! I will make sure to take a picture when I put it up in my room. I plan to hang it on the side of my large back book shelf so the colors will really pop!
I hope you enjoyed this and found it helpful!
I’m linking up with Made it Monday! For more great DIY ideas, click the logo below!
I’m also linking up to Manic Monday! Click the Picture below to check out some more great freebies! 🙂

Thanks for Stopping by!