Google Slides is an excellent resource for creating interactive activities as well as presentations for your students. It works well for distance learning, hybrid learning, and in person learning. Let’s explore the basic features of Google Slides.
If you’re familiar with PowerPoint or Microsoft Word, Google Slides has many similar features. It also has some really helpful features those programs don’t have.
Four Helpful Google Slide Features
- Access your Google Slideshows anywhere
- Continuous autosave
- Easily make a copy of your slideshow for students
- Easily integrates with Google Classroom
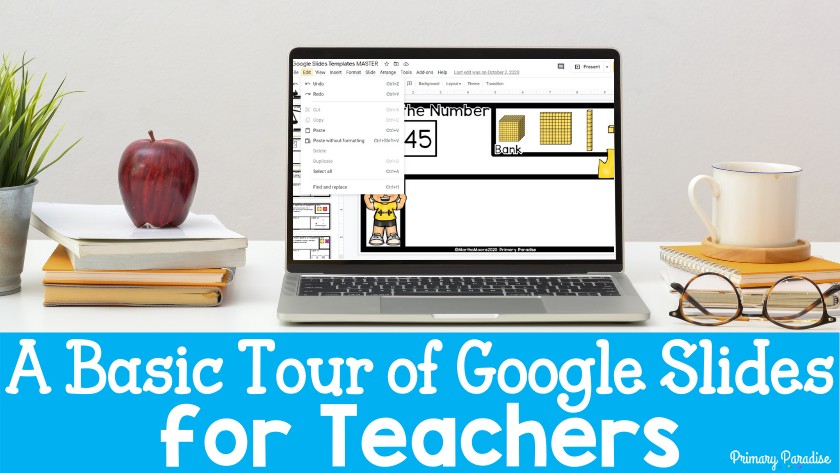
A Basic Tour of Google Slides
Next, let’s take a look at the various controls and features of Google Slides. Please note, that this is a very basic tour. I’ll go more in depth as this blog series continues, but this is a great jumping off point.
Creating a New Google Slideshow
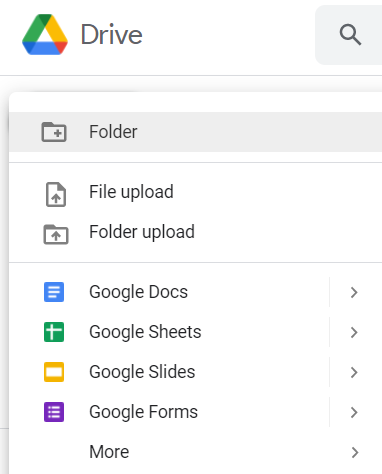
First, to create a new Google Slides presentation, sign into your Google Account and go to your drive . All of your Google resources will be stored in your drive. This means you can access anything you create from any computer. Click on “new” and then “Google Slides”. This will open a new, blank Google Slides.
Google Slides: What’s What
I want to start by sharing that the best way to get comfortable with Google Slides is to just start playing around. It’s an amazing tool that really allows you to do so much. Here are some important areas.
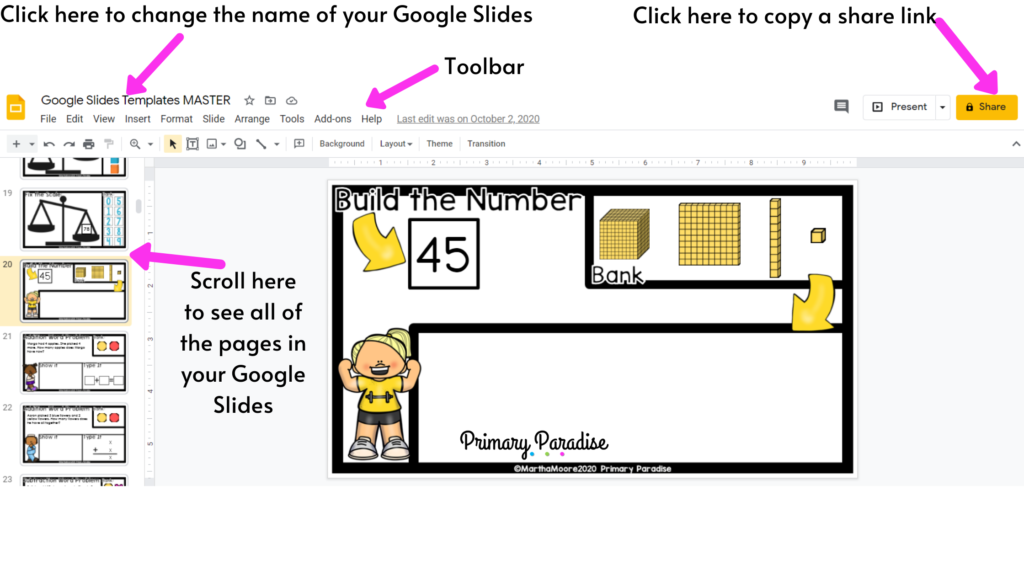
First, in the top left you’ll see the name of your Google Slides. The default title is “Untitled Presentation”. Click on it and name it whatever you’d like. The toolbar is where you can add things like videos, text, shapes, pictures, and format them. On the left hand side, you can see all of the pages in your document. To add more pages, you can copy and paste in the slide sorter, or you can right click and click “new slide”. The share button on the right allows you to share the presentation with students.
Second, let’s take a closer look at the toolbar.
Google Slides Toolbar Tour

If you are comfortable with PowerPoint, this toolbar will look very familiar. The features and tools are very similar.
- File includes features like printing, downloading, changing to size of the slides, and deleting the document.
- Edit includes tools like copying, pasting, and cutting objects.
- View allows you to change to present mode. (You can also click on “present” on the right next to the share button.)
- Insert allows you to add images, shapes, videos, text, and more. (There are also shortcuts for these features underneath the text toolbar, as you can see in the picture above.)
- Format allows you to change the properties of text, pictures, shapes, etc.
- Slide allows you to create, duplicate, and delete slides.
- Arrange allows you to line up, layer, and order pictures, shapes, texts, and objects. This is very useful for making a visually organized presentation.
- Tools includes things like spell check, help, and a dictionary.
- Add-Ons includes just that. There are hundreds of extra tools and apps that integrate nicely with Google Slides.
And there you have it! Finally, if you’re a visual learner, pull up a new slides presentation and follow along with me in the video below.
