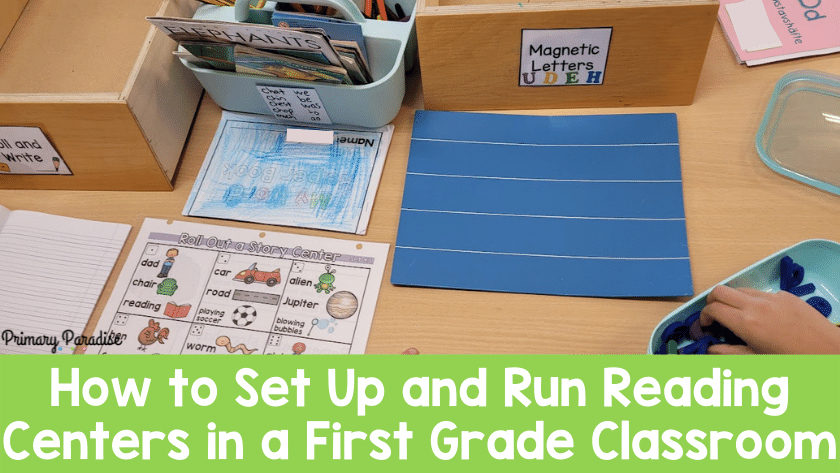
Reading centers are an important part of your literacy instruction because it gives you time to target key skills with students. It also allows students to make some choices in their own practice and learning. Knowing how to set up reading centers in a way that is simple for you and engaging for students will set you up for a year of success. Here is how reading centers work in my first grade classroom.
How do I introduce literacy centers?
First, patience is key when it comes to setting up successful centers. Your students come into school not knowing your expectations. They don’t know how any of your centers work, either. I start the year by focusing overall on modeling and practicing expectations, and it’s the same when it comes to centers. Here is how I introduce centers in my classroom.
Introducing Literacy Centers as a Whole- 1 Day
Start by introducing the idea of centers and generally talk about the expectations of centers. Ask students for their input as well. What do they think centers look like. I normally say something like, “During centers, you all get a chance to practice things in a fun way. At the same time, I will work with some students to help them grow. What do you think our classroom should look like and feel like during this time?” We might have a quick discussion or create an anchor chart together. I always start of end the lesson with a fun read aloud so students get used to reading together since this is when we do most of our comprehension instruction and practice.
Introduce One Center at a Time- About 10 Days
Then, I begin to introduce one center type at a time. In my classroom, I follow a modified Daily 5 model. It’s modified because, the way my schedule works, there is never time for all 5 centers each day. I start with read to self because it’s an easy one to have everyone do at the same time. We follow the same pattern as I introduce each center type, so it becomes familiar quickly which is good since we’re working on creating a routine.
Here is how I introduce each literacy center:
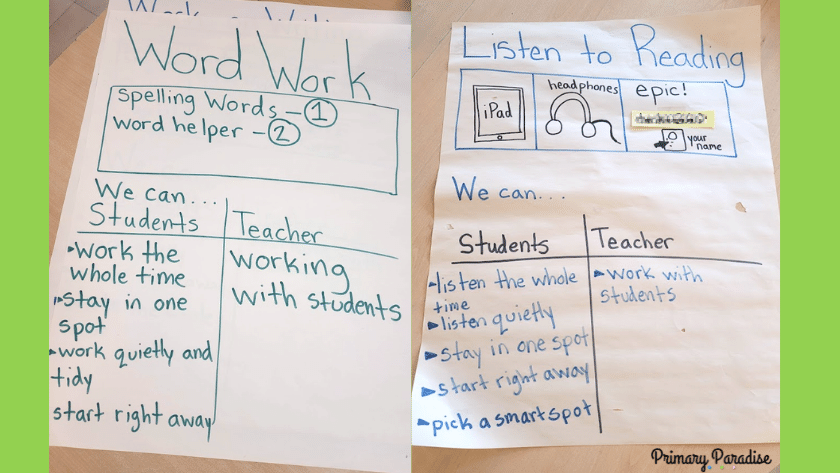
- Create a t-chart with teacher expectations and student expectations.
- Teacher models the correct way to do the center.
- One student models the correct way to do a center.
- Another student models the “wrong” way to do the center.
- The same student then models the correct way to do the center.
- All students practice the center.
- As soon as any students are off task, gather back on the carpet.
- Each student rates how they think they did with a thumb up, down, or sideways. (Do this on their heart so it’s only for them and you.)
- If time, try again.
- End with a read aloud- preferably something silly or something that relates to that center.
Here is the order I introduce centers:
- Read to Self
- Word Work
- Listen to Reading
- Work on Writing
- Read to Someone
This order can definitely change, but this is what I’ve found works for me. I typically introduce a new center type every other day, which is why it takes 10 days total. Each time I introduce a new center type, I have some students practicing the past centers. I do keep track of who has practiced each one to ensure everyone eventually gets to practice everything.
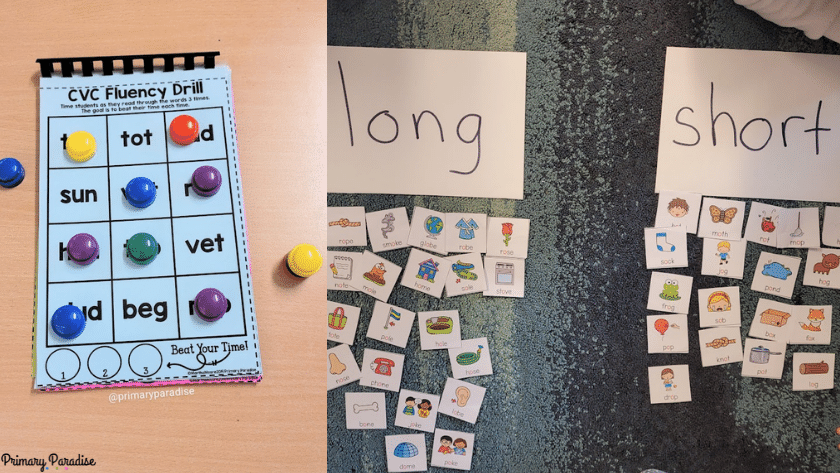
After read to self, I introduce word work. This is because I have many options for word work, so I want a good number of days to share the options. It’s also hands on and shows students that centers are more than just reading books.
Now that I have iPads and use Epic! for listen to reading, I introduce this third. This is because students are highly motivated to read on the iPad. It also is a center that is overall simple but takes some practice learning how to log in and troubleshoot. By this time, I have students doing 3 centers, so 1/3 are reading to self, 1/3 are doing word work, and 1/3 can listen to reading. It’s important to think about how many of each center you have. Save the centers with less options for the end.
Next I like to introduce work on writing. This one could really go anywhere as I typically have a lot of options, but I find saving it closer to the end means students already have a good idea of our expectations. Again, I only share a few of the options the first day and continue to share them as time passes until they’re all available to students. You can continue to share new options after you’ve finished launching centers. In the beginning, you just need enough options so everyone can have a center. So, if I have 5 word work options and 6 work on writing options, I will probably only share 2-3 for each center at first. As you’ll see below, I have multiple sets of each option so there’s still enough for all of the students.
Last, I introduce read to someone. I like to save this for last because, by now, students have a good understanding of expectations and are ready to work with a friend. With this one, we talk about playing rock paper scissors to decide who picks the book first and I introduce reading buddies if a student is unable to find a partner (such as when there are an odd number of kids). Reading buddies are just stuffed animals students can read with instead of a partner.
What specific reading centers do I have in my classroom?
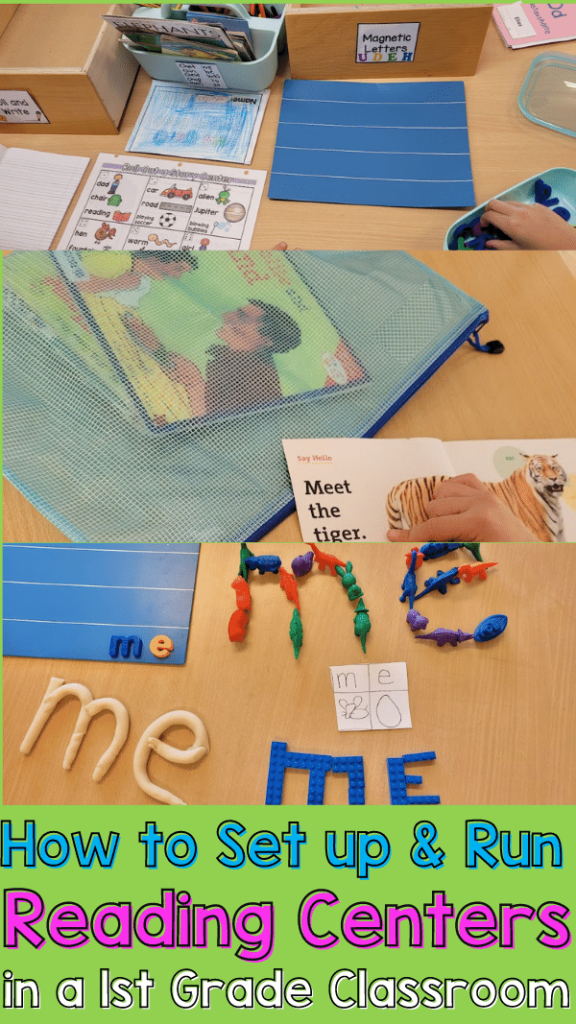
Now that I’ve shared how to introduce centers, let’s take a closer look at what specific centers I use and how to set them up. My favorite thing about how I run centers is that they require minimal upkeep, are cheap, and require little to no copying, printing, laminating, or changing!
Year Long Word Work and Writing Centers
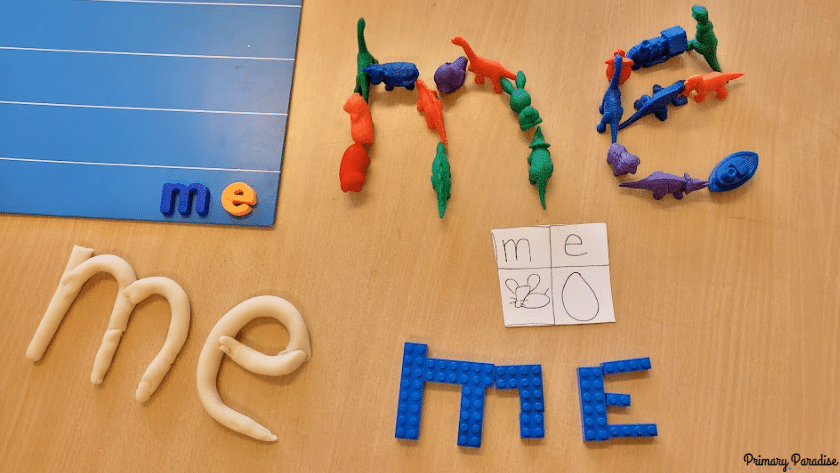
When it comes to literacy centers, I refuse to waste time prepping centers every week. There’s a lot of reasons why. First, I don’t want to have to spend instructional time constantly explaining new centers. Second, I don’t want to spend my own prep time cutting and laminating and making or finding new centers. Third, I want my centers to be as hands on and tactile as possible.
That’s why a number of years ago, I developed a better system for word work and work on writing centers. I created a ton of year long center options. These centers stay the same all year long, but still allow students to practice skills in meaningful ways. They’re easy to set up, inexpensive, and most can be put together with items you probably already have in your classroom. Once you prep them, you can use them for years and year.
I have a very detailed explanation in this blog post of each center and how to set it up. If you are looking for easy to use, low maintenance center options that students love, I highly recommend checking it out.
Listening centers
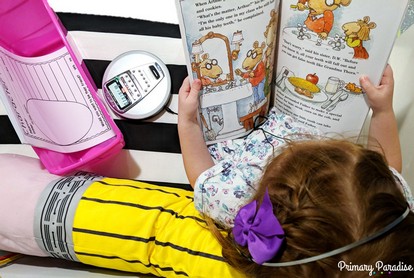
A few years ago, I shared the benefits of listening to reading and how I ran listening centers in this blog post. It still is a great system and it works really well. However, this past school year, I had access to iPads and Epic!, and that is now my go to way to have my students listen to reading. If you’re not familiar, Epic! is an app/website that has a wide variety of books for children. Many of the books have a “read to me” option which allows students to listen to books as they follow along. Epic! also has a nice selection of audiobooks as well.
Unfortunately, Epic! is not free, but if your school will pay for it, it’s an excellent option for listening to reading. Students can simply grab an iPad, headphones, tap their name on the app, and get to reading. I am able to assign them books, see what and how long their reading, and even make collections of books to share on different topics. It is truly a fantastic option if your school will pay for it.
Read to self and read to someone
Although I think sometimes teachers feel the need to add bells and whistles to these two when they’re setting up reading centers, I like to keep things super simple. Here is how read to self and read to someone work in my classroom.
Read to Self
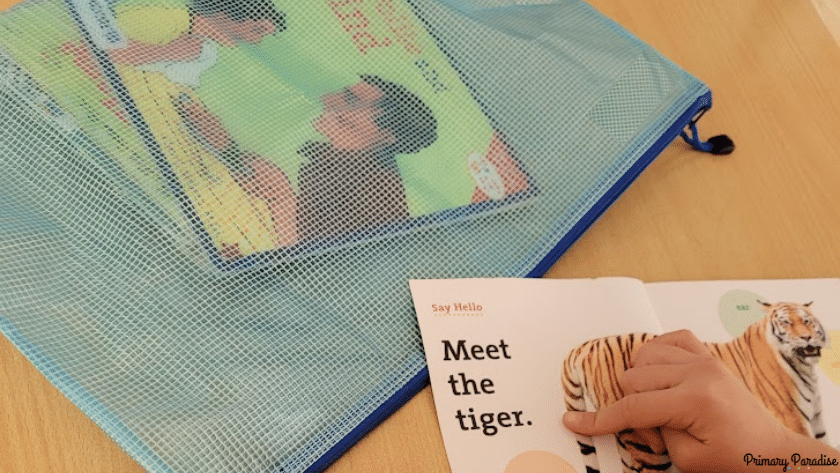
I am a big fan of independence and simplicity, so we keep our read to self routine very simple. First, My students have a large plastic pocket with a zipper to hold their books. When we begin centers for the first time, I have already selected 5 books for them to have in their book bag. (You could have more or less. 5 works well for my students.) However, very quickly, students begin to book shop for their own books. We focus a lot on how to select independent books for themselves. I have 1 group bookshop each morning during our morning routine. This means by Friday everyone has selected new books and everyone has their books for one week.
Although I recognize the importance of students reading books they can decode and not relying on pictures to read, I also want my students to learn to love and enjoy reading. So, I allow students to select 5 books they want to read. We work on trying to pick at least some books where they can read the words, but I also want them to spend time looking at illustrations and generally enjoying books, even if they can’t read all the words. In addition, I give them decodable books, either ones I have created or books that go along with our scope and sequence. I ask students to start their reading off with one of these books first.
Our read to self expectations are typically very simple. Students don’t need to write down or track their reading. They can sit where and how they want as long as they aren’t distracting others. I often do one minute check ins where I come and sit with a student who is reading to self, listen to them read for 1 minute, write down anything I notice, and then we chat a bit about their reading. I also typically try to pull students for small group instruction during their read to self time.
Read to Someone
We also keep read to someone simple as well. Students who are reading to someone pick a partner and then together pick a spot. If they can’t find a partner, or don’t want to for whatever reason, they can choose a stuffed animal to read to.
Once they find a spot, the students play rock, paper, scissors to decide who picks the first book. Then, they begin to read together. If both students can read the words of the chosen book, they take turns reading every other page. If neither can, they can read the pictures together. When only one can, they can decide if one wants to read while the other listens, if they want to pick a new book, or if they want to read the pictures. Again, like read to self, my goal here is more for students to enjoy reading and enjoy working with a partner. However, I also have Decodable Partner Plays available for students to read during read to someone which is typically a very popular choice.
What should you do while your students are in reading centers?
So, once your students are all engaged in their centers, why do you? During this time is when you can work with students in small groups or one on one. How this looks in your classroom can and should depend on your students and their needs. It can also vary by the day and time of year. However, the keep thing is to make sure you’re utilizing this time to the fullest extent. Overall, we mostly work on decoding and understanding letter sound patterns and sight words. This is not typically a time that I focus on reading comprehension, and here’s why. I do make good use of this time though. Here is what I do while my students are engaged in centers. It is often my favorite time of the day with the most meaningful learning experiences!
Setting up reading centers can feel like a daunting and overwhelming task, but once you have a good routine, it is such a valuable time of learning.
Keep reading and learning:
- How to Teaching Comprehension with the Science of Reading
- ABC and CVC Intervention Activities
- What to Do the First 3 Minutes of Guided Reading
- How to Teach Narrative Writing in Kindergarten and First Grade