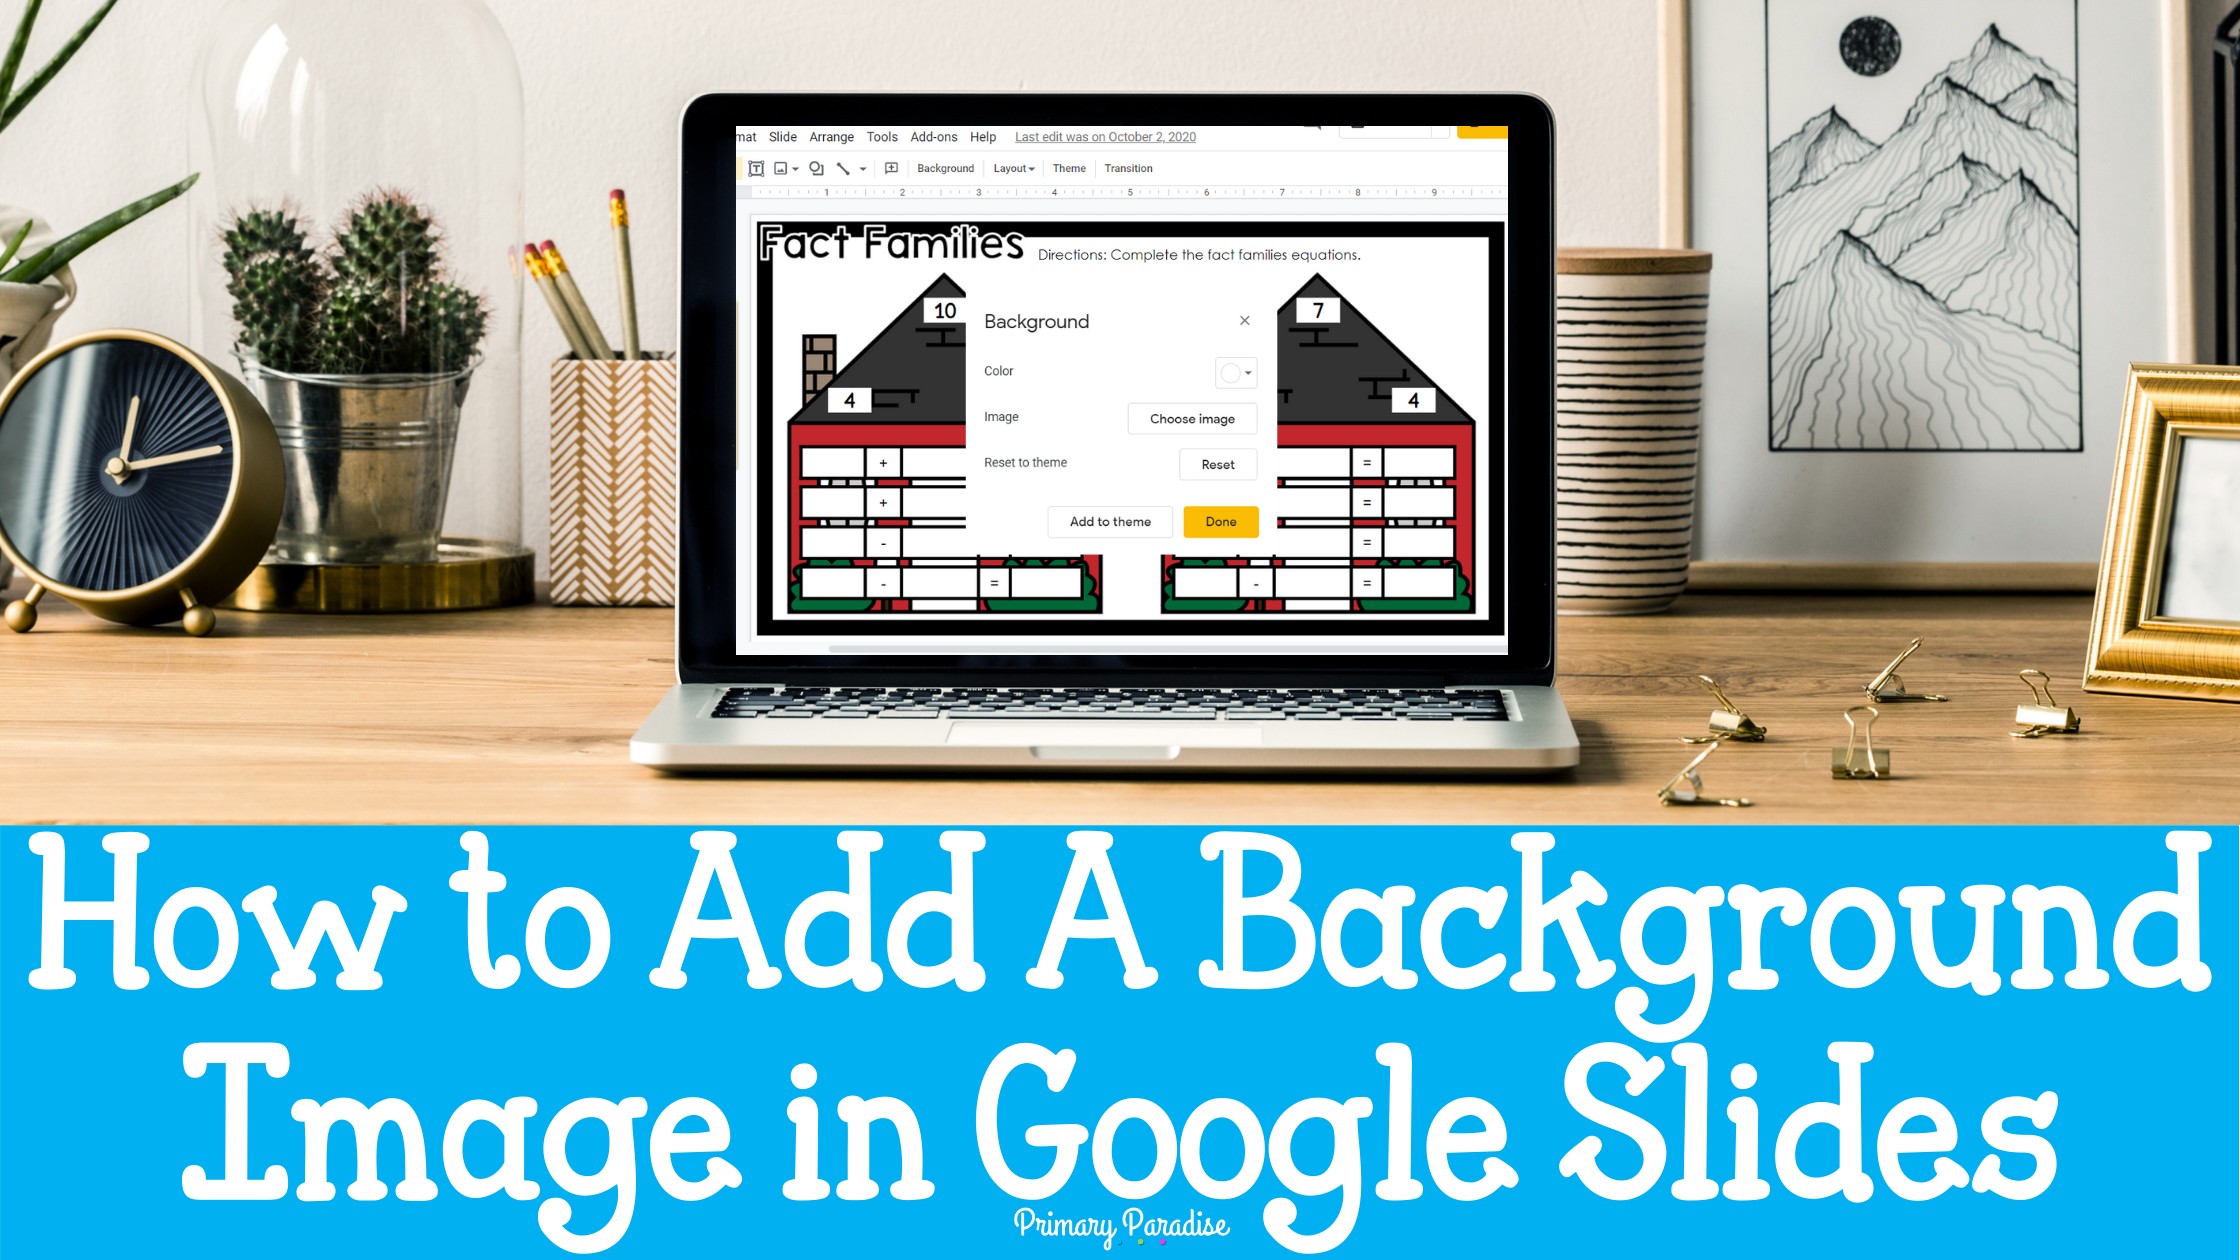
Adding a background image to your Google Slides presentation is a handy trick. This makes it harder for your students to accidentally move pieces that they don’t need to move. It also allows you to create a nice looking templates. Let’s learn how to do it!
Why would I add a background image to my Google Slides activity?
There’s a variety of reasons adding background images is helpful.
- If you’re more comfortable designing in a different program, it allows you to do a bulk of the design work there.
- Adding an image or template as the background prevents students from moving, or accidentally deleting, the image. (Or, maybe purposefully deleting the image.)
- Sometimes you can’t create all of the elements you want in Google Slides. A background image created elsewhere will allow you to add elements that aren’t available in Google Slides.
Where can you create a background image?
This isn’t a tutorial on HOW to design the background image or template, but, if you’re looking to make a template, I highly recommend Canva or PowerPoint. Both of these tools allow you to easily design templates.
Adding a Background Image to Google Slides
First, if you’re unfamiliar with Google Slides, I highly recommend checking out my Basic Tour of Google Slides first.
Adding a background image to Google Slides is fairly simple. Whatever image you pick will automatically be stretched or shrunken to fit your slideshow presentation, so it’s best to pick an image or template that’s the same size.
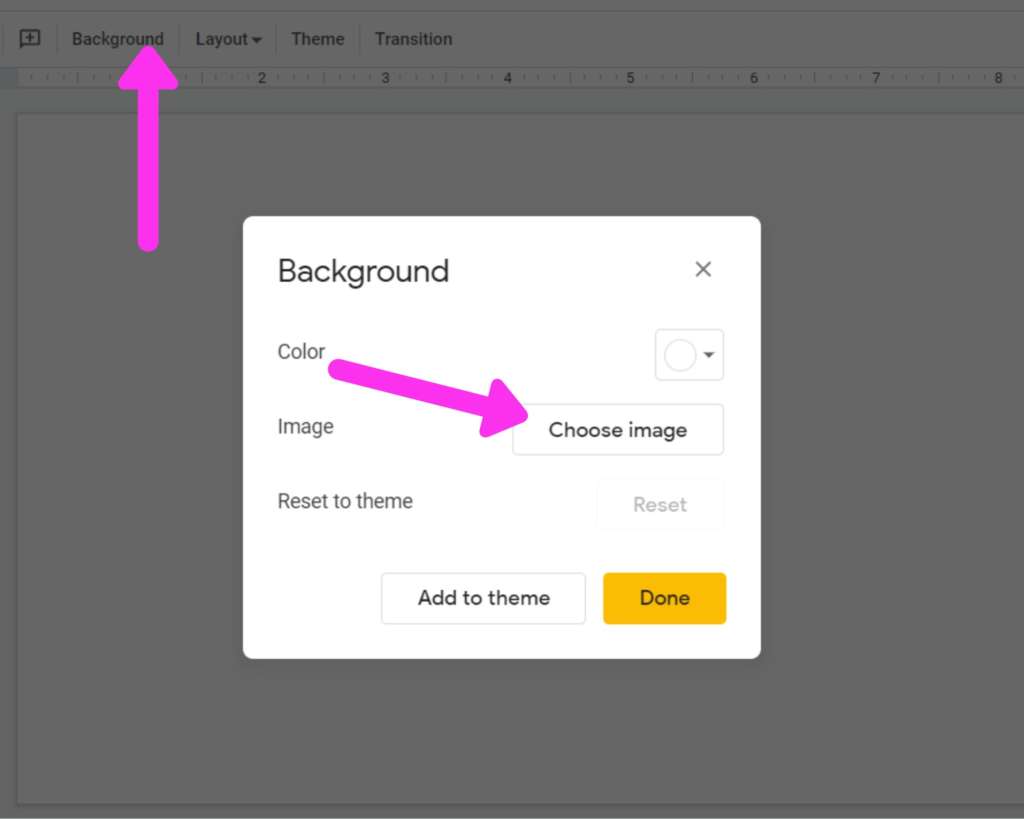
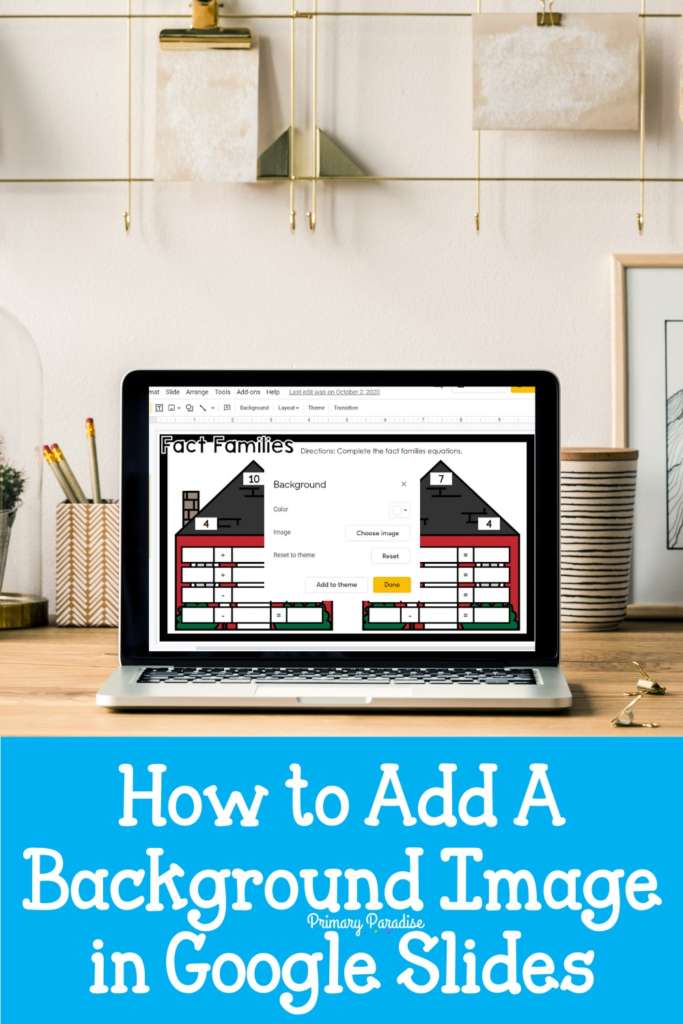
First, click on “background” and then “choose image”. You can choose to upload your own image, take a picture with your camera, choose a photo from your Google photos account, choose an image from your Google Drive, or do a Google image search.
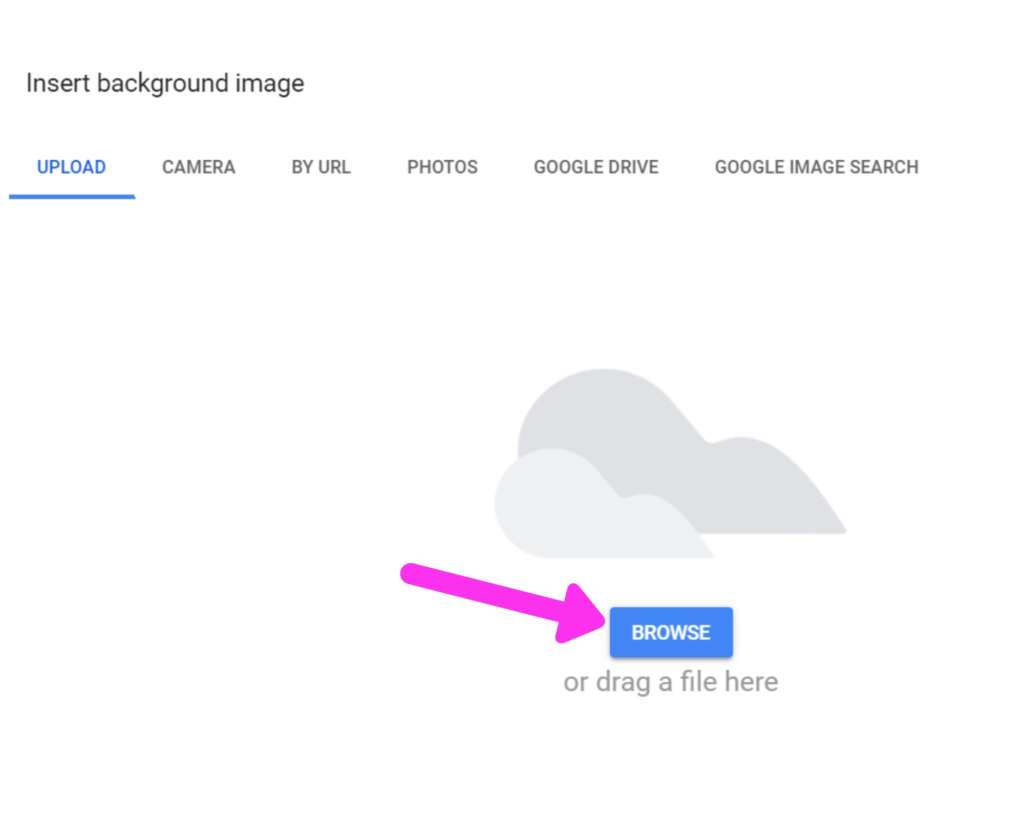
Next, if you’re selecting a template or image on your computer, click on “browse”, or you can drag and drop the file.
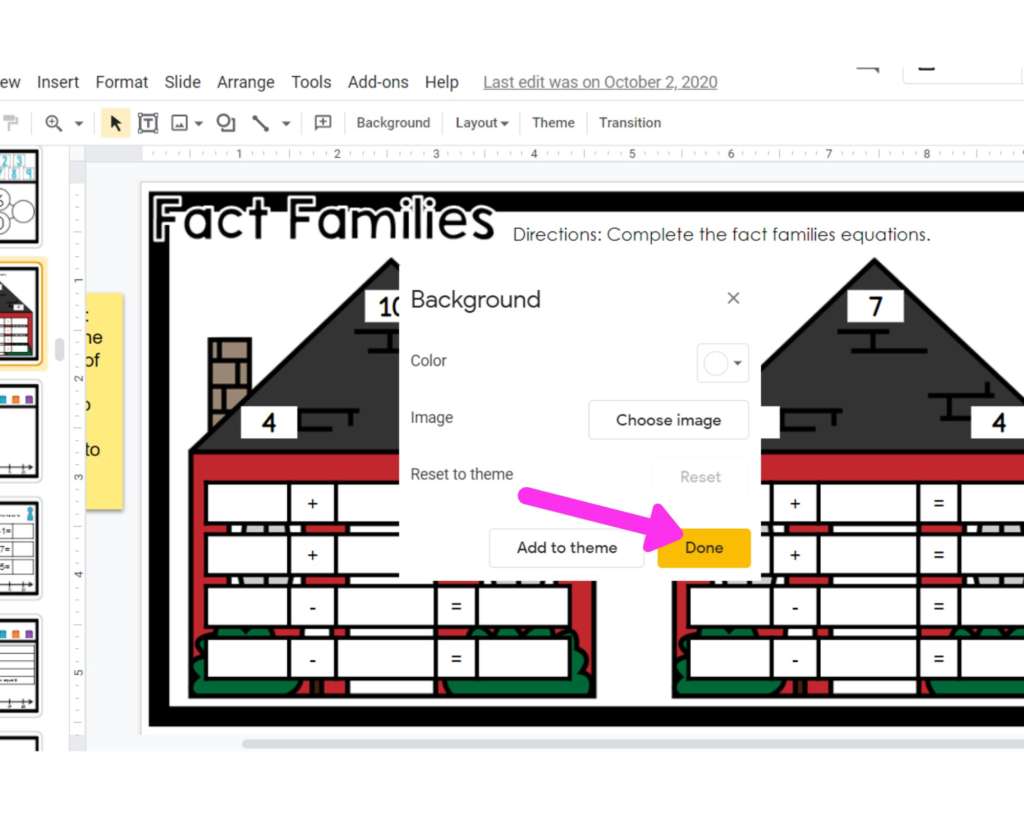
Once you’ve selected your file, click on “done”. And there you go! You now have an immoveable background image that students can’t move or delete! You can follow the same steps to replace a background image. If you’d like more than one slide with your background image, right click on the slide in the slide sorter (on the left side) and click duplicate slide. You can also left click on the slide and hit control+c and control+v to copy and and paste as many copies as you’d like.
Finally, if you’d rather not spend time making Google Slide templates, you can find over 100 ready to go Google Slide template here. They’re pre-loaded into Google Slides. You can also find some free templates to try here in my free resource library for email subscribers.
If you’re a visual learner, pull up a new slides presentation and follow along with me in the video below.
Feel free to join my FREE Facebook Club for k-2 teachers here!
Find me on Instagram, Facebook, Twitter, and Pinterest!
